It's so easy to install Ambrogio Robot!

Do you need to install your new Ambrogio Robot? Follow our advice and consult the user manual supplied with the lawnmower.

Ambrogio Robot installs quickly and is immediately ready to start working.
Installazione Ambrogio Robot
  • 1
    Install the perimeter wire and charging station

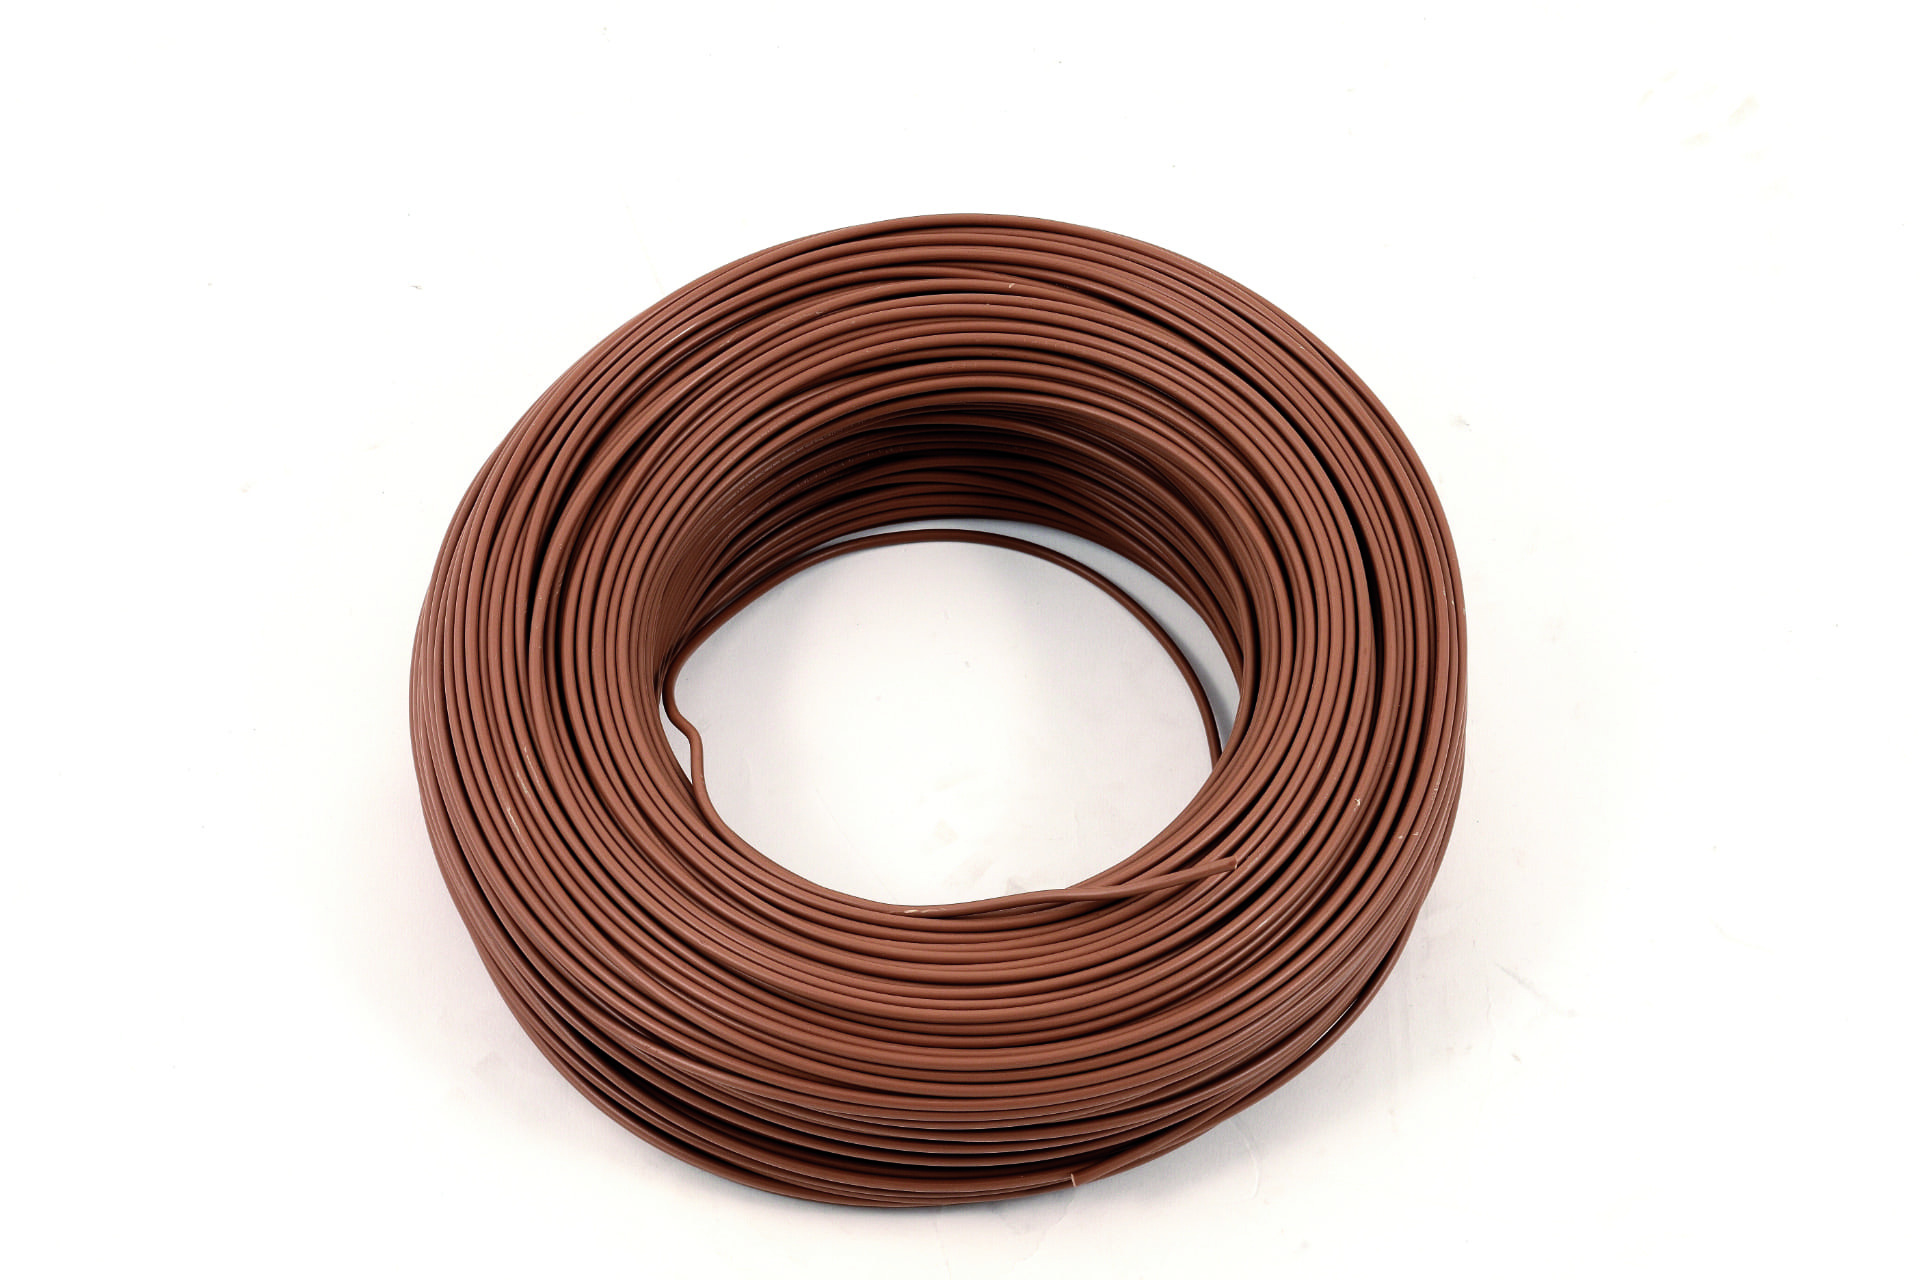
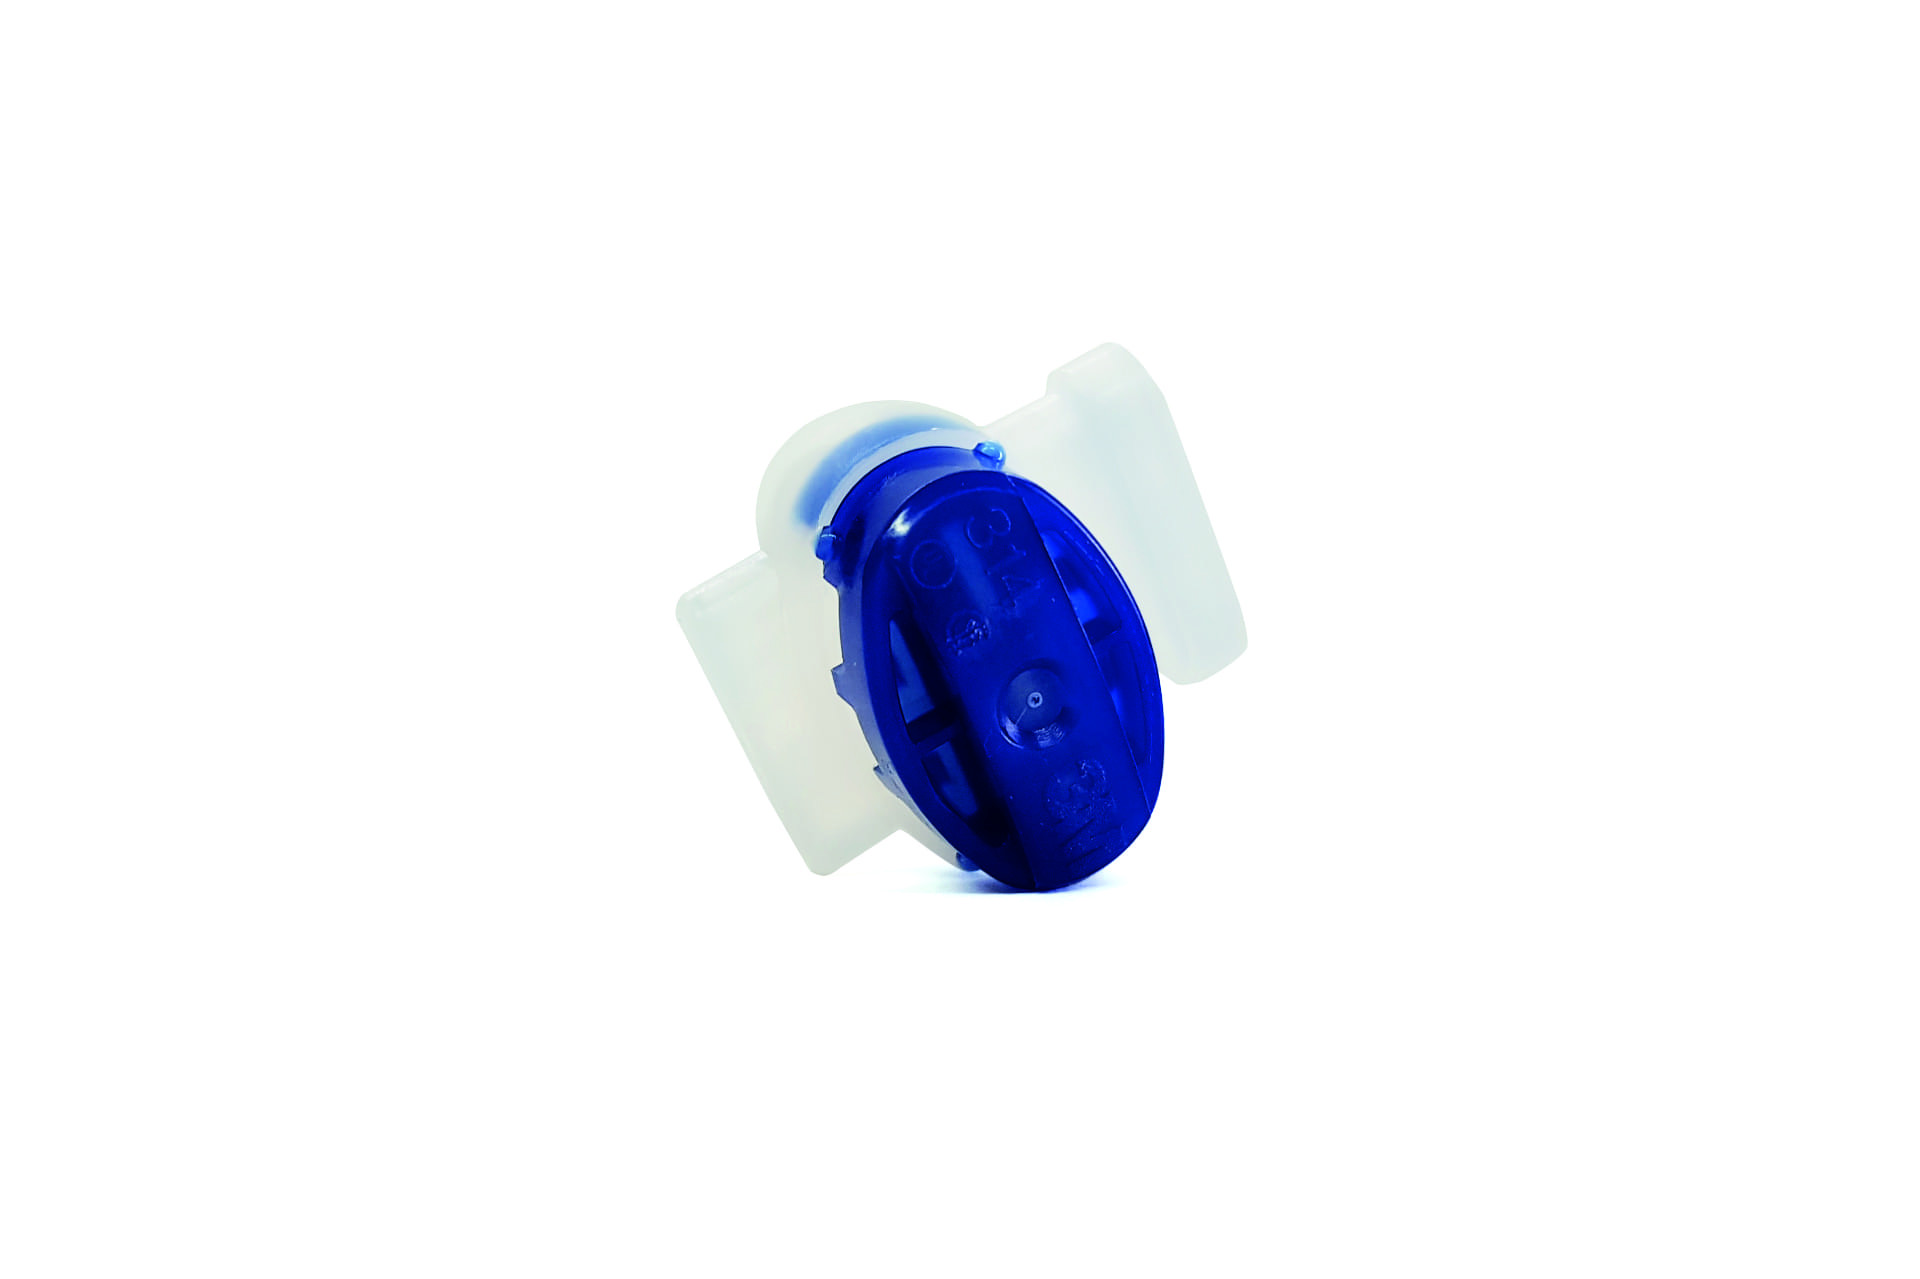
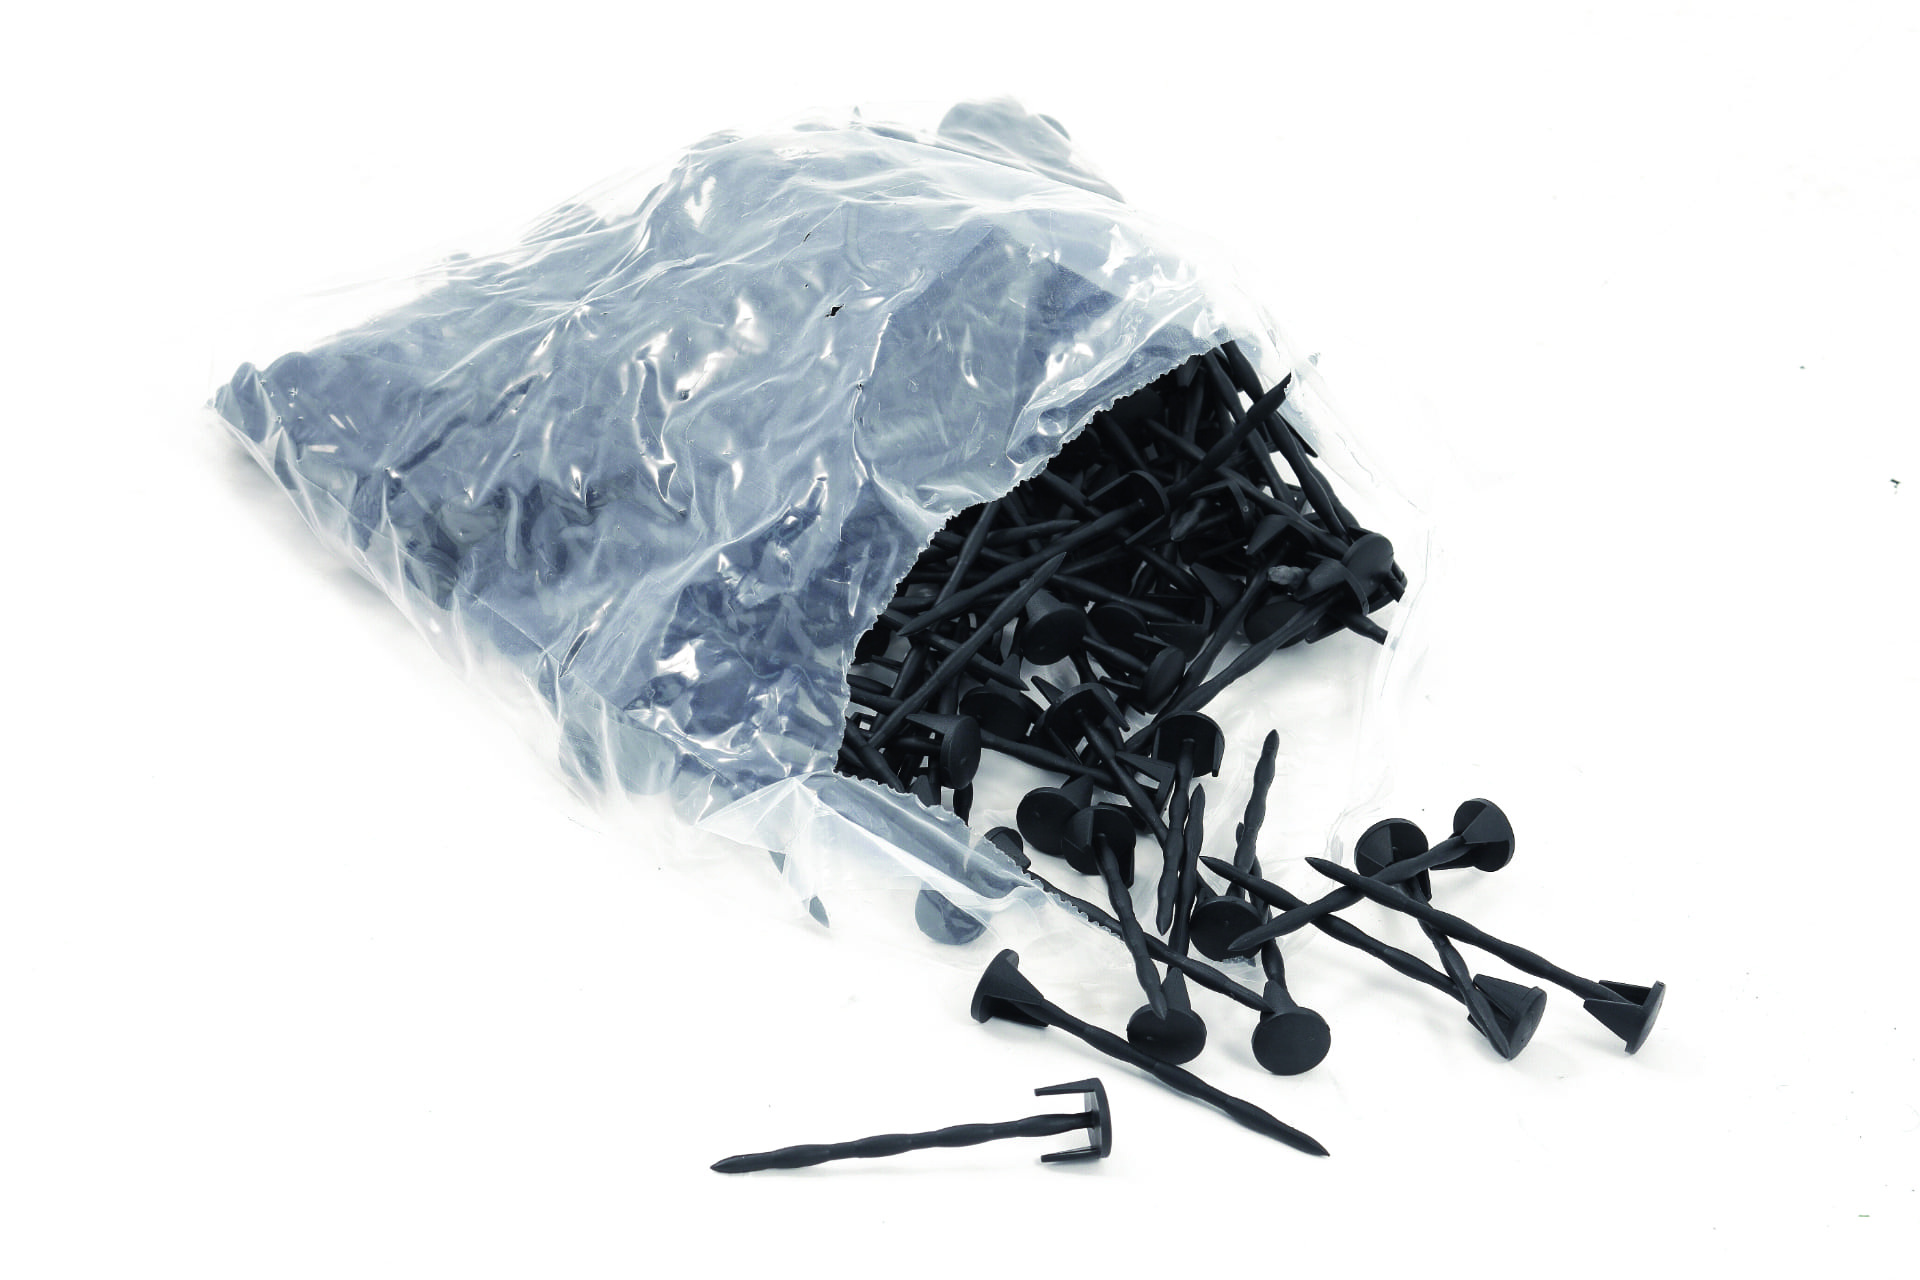
    The first step is to install the perimeter wire and the charging station using the kit supplied with the mower containing the wire, pegs, joints and accessories. Once you have completed these steps, you can immediately charge Ambrogio and put it into operation.

  • 2
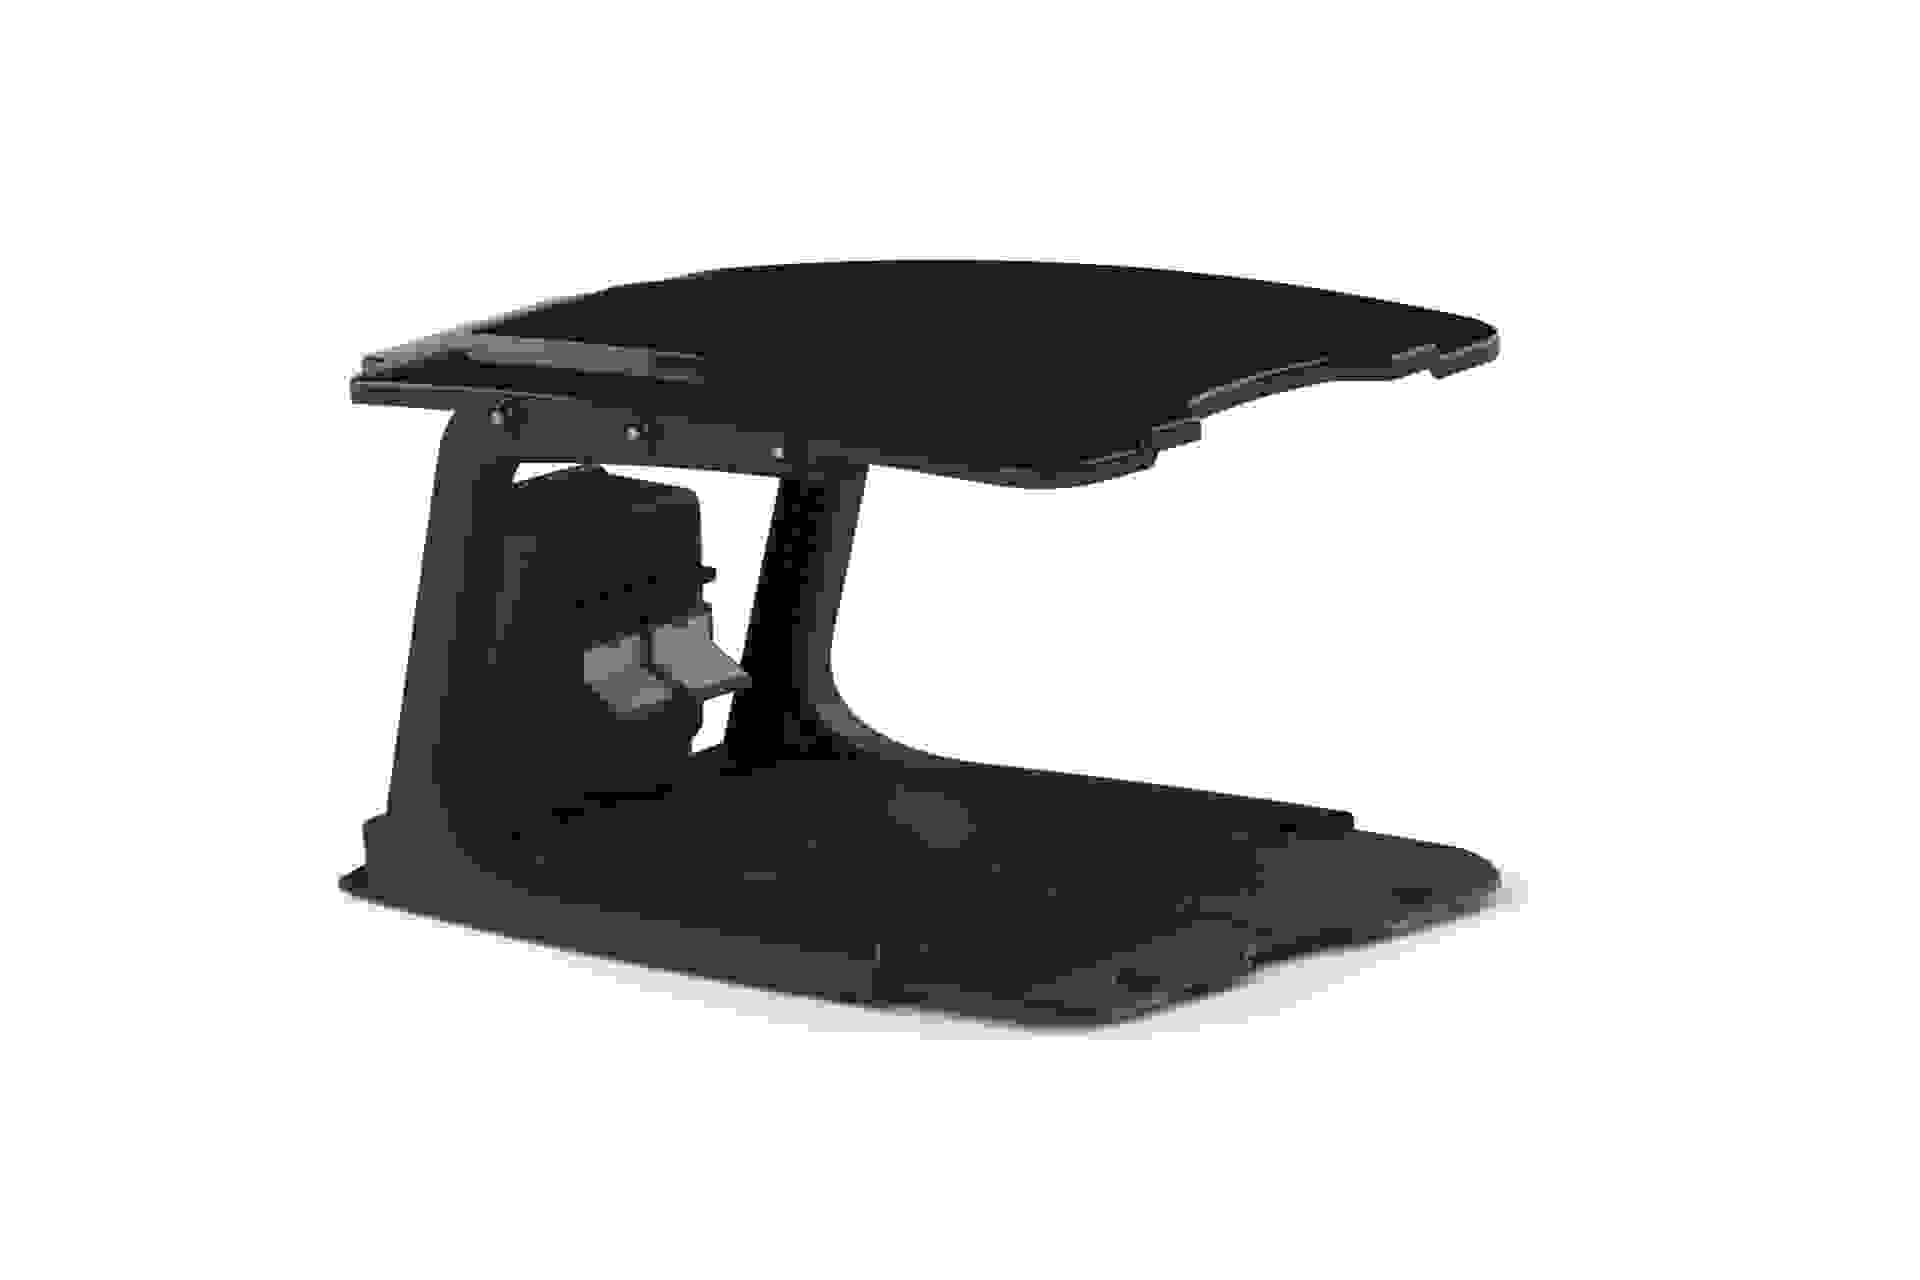
    Position the charging station

    Choose a spot in your garden for the charging station that suits you best. Do not expose it to the sun or place it near irrigation systems, and make sure that there is a power outlet nearby.

  • 3
    Connect the perimeter wire

    Connect the Ambrogio Robot perimeter wire to the station and secure it to the ground along the perimeter of the lawn on which the robot will work. You can create additional islands to mark off areas that Ambrogio should avoid such as flower beds, trees, furniture, etc.

  • 4
    Charge the Ambrogio battery

    You can now place Ambrogio in the charging station, wait for the battery to complete its charging cycle, which takes about an hour and a half, and then switch it on and enjoy your lawn.

Installation

100

Perimeter Wire

CONNETTORI

Connector

CHIODI

Pegs

Base ricarica

Charging station

It's easy to install Ambrogio, but if you are not sure how to use the tools or have any doubts, please contact your nearest authorized dealer. Please note that, in addition to sales, local dealers also perform service and maintenance.

For detailed information on how to install Ambrogio Robot please contact your dealer or our technical support service.